How to Install A Roof on a Budget
How to Install A Roof on a Budget

A little ashamed to invite anyone over because of that gross mold on the top corners of a room? Or do you have another huge leak? The old bucket catching the drips from the roof technique just not enough anymore? Well whether you are planning ahead of time, or have already run out of buckets, you have come to the right place! It’s time to call a few friends over, roll those sleeves up, and get crafty because instead of paying $7,000-$25,000, you’ll most likely spend no more than $3,000! There are different types of roofs, however in this article we will focus on replacing shingle roofs.
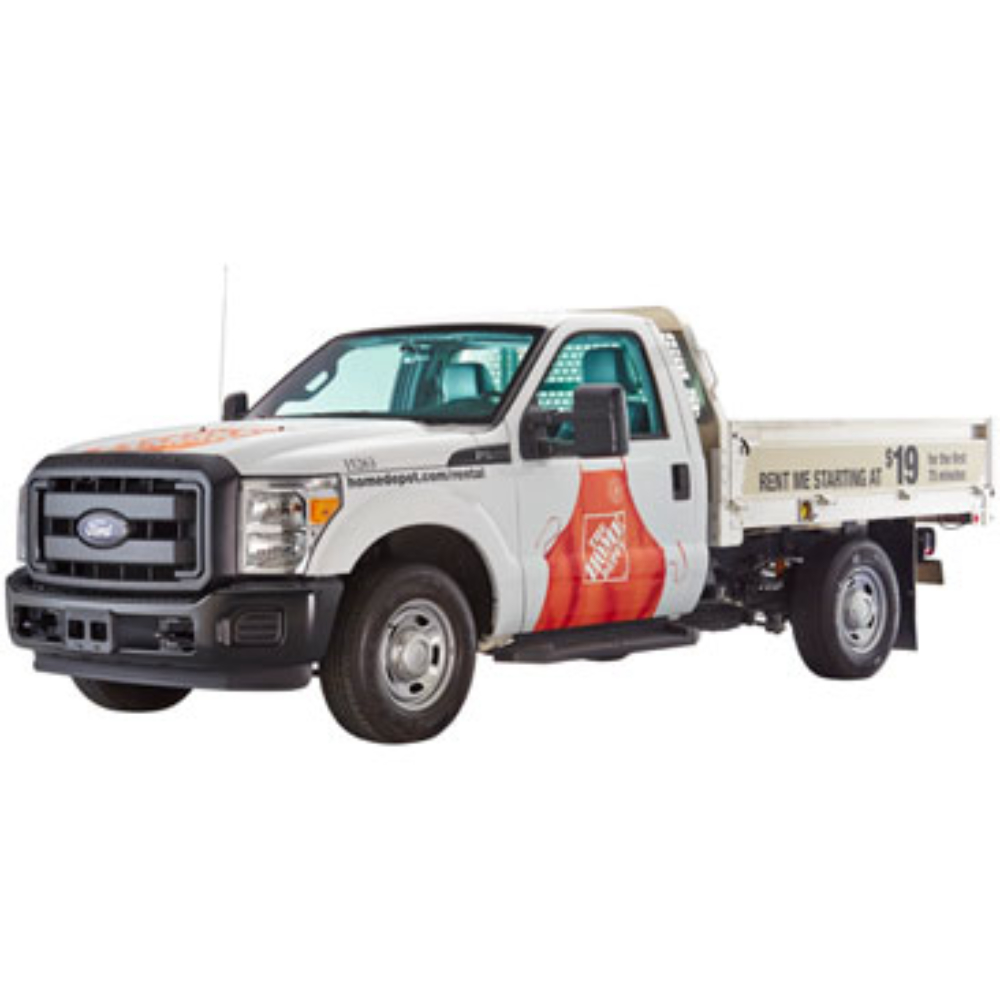
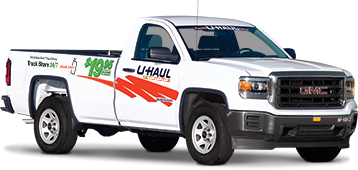
Like all construction jobs, you’re going to need a truck. Below is a chart of truck rental alternatives if you do not own a truck.

Next, you need to find a Local Roof Supply Store. Although some places may require you to have a contracting license, most places sell to the public. Home Depot and Lowes also carry Roof Supplies, but it would be much more cost efficient to get the supplies from Roofing Supply stores.
Supplies Needed
Roof Material
Shingles & Starters
Cap Nails
Nail Gun
Underlay Paper
Spud Shovel
Compressor
CDX Plywood
Hook Knives
Hammer
Power saw
Ladder
Tool Belt
Edge Metal
Water
Tent
Once you’ve handled gathering supplies, it’s almost time to start roofing. Roofing can be dangerous, and accidents do happen, so always think about your safety while performing tasks on the roof . Make sure you stretch and hydrate properly because you will be straining your body more than it’s used to. I hope you took those stretches seriously, if not, you'll know why you should have at the end of the day. Now let’s get started!
Lay Out Tarp Around the Perimeter of the House.
Although it’s not necessary, the tarp will come in handy for cleaning up all the material that falls while tearing off the old roof.
Tear off the roof on the house
Remove any flashings from the roof so they are not damaged in the tear off process.
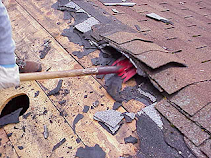
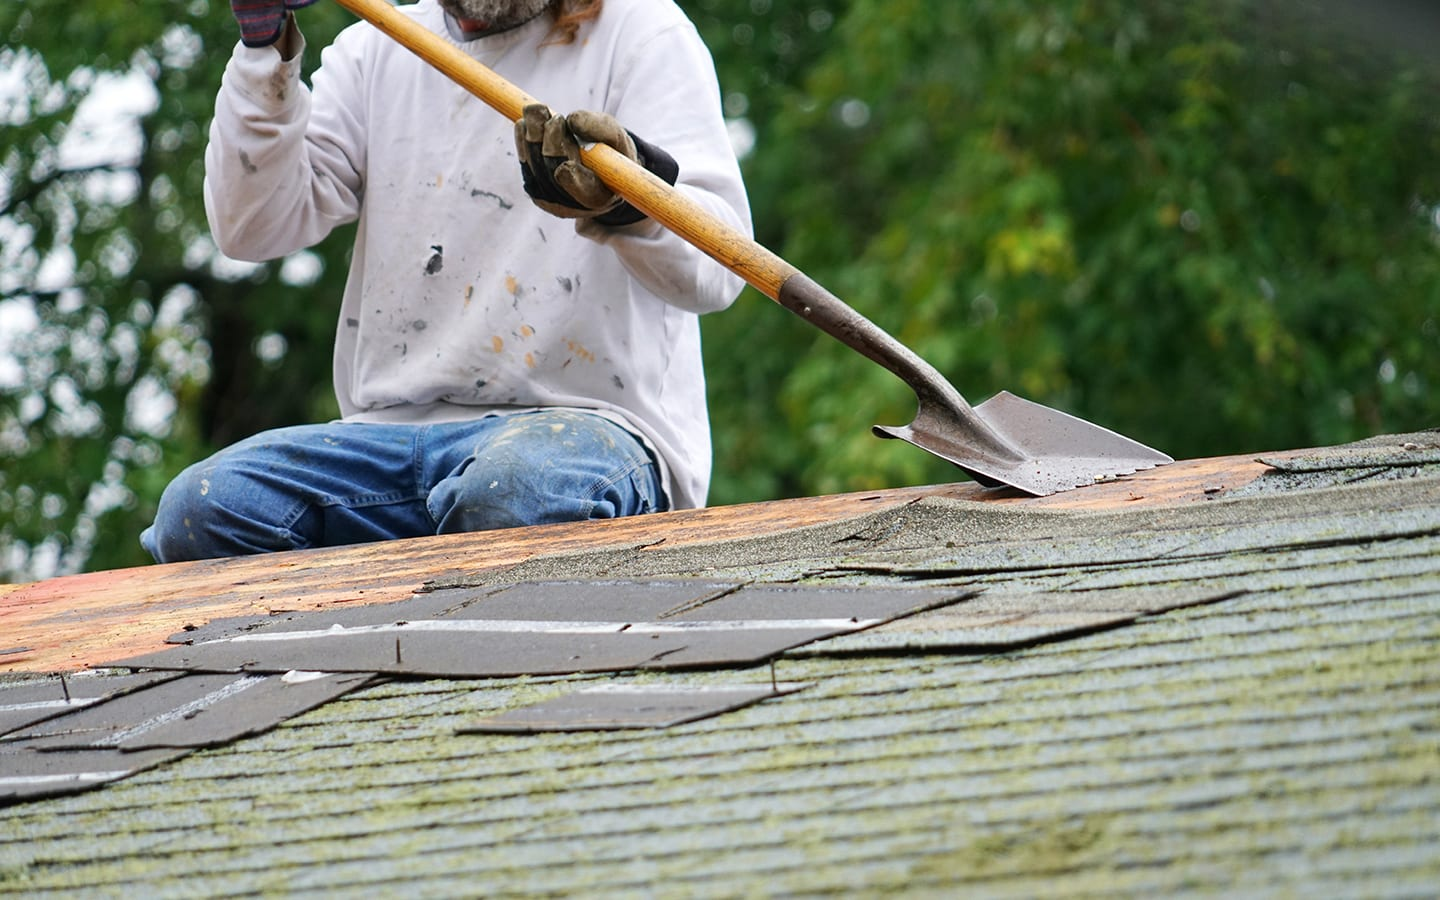
Grab the spud shovel from your supplies, and walk to the peak of the roof. Place your spud shovel against the roof surface at a forty-five degree angle like so.
Then apply force downward along the inclined plane. In result, the shingles will separate from the plywood underneath. If the shovel becomes wedged, apply force directly downward causing a prying motion
Be sure to take off all of the material. Only wood should be left, and double check for leftover nails on the deck.
Inspect The Deck For “Bad” Wood
After years of wear and tear, some of the plywood on the deck is bound to become weak. There are two quick ways to identify which ones have become bad.
Walk around the roof slowly and listen for creaks. Also feel if any of the wood feels flexible.
Be aware of the color of the wood. Darker colored boards are usually a sign of moisture in the board, which causes weakening.
Only measure and mark the size of the weak portion of the board, because in most cases it will not be the entire board that has become weak. However, also make sure your measurements are long enough to start and end on a supporting beam of the roof deck.
Grab your saw, and cut the weak portion off along the marks you made.
Grab your new CDX Plywood, and cut it to the dimensions of the piece you just cut out the roof deck.
Place the already cut piece on top of the new wood and use it as a guide to make sure the pieces come out looking the same.
Now grab your hammer and nail the new wood piece into the supporting beams
Repeat this process for any weak boards you find, and remember to check the deck thoroughly because bad wood will make a new roof leak.
Lay Underlayment
Choose which section of the house you want to start laying the underlayment on.
The best section to start is the side with the least cutting amount involved.
Place underlayment material evenly at any corner of the house and hammer a nail in it so it will not slide, but can still rotate. Then roll it out over the roof deck like so
You want to lay out the paper in horizontal rows until you have the whole deck of that section covered.
You will have to make cuts around flashings eventually, and the simplest way to do that is roll out the paper as if the object wasn’t there, and then cut the paper around the object where you see fold marks.
Repeat this process for every section of the roof until it looks like the image below

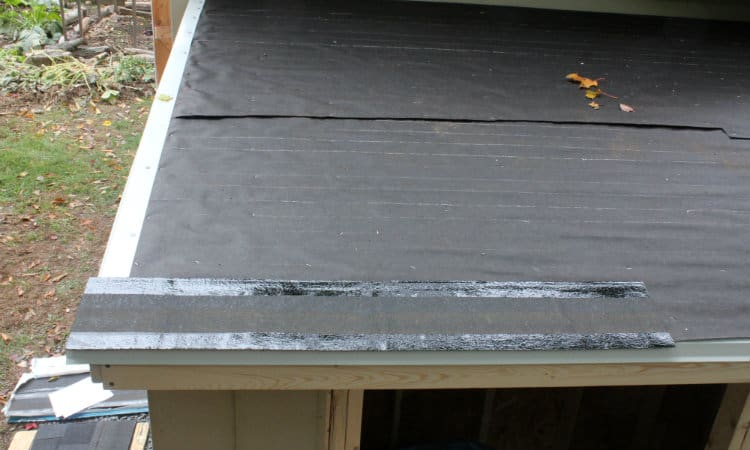
Put Edge Metal On around the perimeter of the roof
Try to lay the metal flat against the deck and the surface boards. The metal should sit on the edges like this
Cut a small triangle in the metal at corners of the roof to make the metal wrap around smoothly.
Make sure the metal has no bends or sections sticking up

Alright so we are in the final stretch, it’s time to lay down those shingles and wrap up this long day.
Roof
The roofing portion, ironically enough, all begins with nailing down “starters” along the edges of the roof
Starters are the top half of normal shingles. If you did not purchase starters, you can still make them by cutting the normal shingles in half horizontally
Now you will need to cut a “Book." “Books” are shingles cut into layers in fractions of sixes.
The first full shingle should be cut at 6 inches
The next cut should be 12 inches
Third cut will be 18 inches
The next cut will be 24 inches
Final cut will be 36 inches
Followed by a full shingle

Start at the corner of the roof with a full shingle, and nail it down over the starter
Next you want to use each piece in descending size order
Make sure you place every shingle at the vertical halfway mark of the shingle laid before it.
The point of placing the shingle halfway over the next is to hide the nails of the previous shingle laid down.
The smallest piece of your book should be used at the ends of the house.
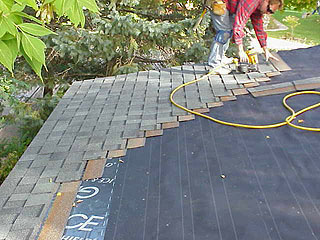
Complete this process, for every section of the house
Ridge and Roll
If you’ve made it this far, i know you must be exhausted, but the last step is the easiest of them all.
Take the ridge caps out of the box, and lay them down at every peak of the house.
Make sure you nail them one over the other in a similar way you did the shingles.
There you have it! You can now go back inside and feel the immediate benefits of your new roof by sitting in it’s shade with a much fatter wallet than you would have had if you’d paid!


Comments
Post a Comment