How To clean a PS4
Saturday, September 19, 2020
How to clean a PS4

In today's times of new technology in our society, we are well aware that we are heavily reliant in our use of day-to-day devices but, eventually as time passes by these devices start to become worn out or in other instances, in need of some thorough hardware cleaning as dust starts to build up within the devices compartment's. Many devices are designed to be used for long periods of time, therefore are built with the correct cooling system for that specific device and thus has its own cleaning process/maintenance to keep it running at its best performance for a longer lifespan. In this blog I will be explaining the step-by-step process, along with the tools needed to correctly clean your Ps4 to optimize its best performance and reduce fan noise(caused by overheating due to dust build up).
Step 1: Grab tools
If you are going to clean your Ps4, you will need to have these tools:

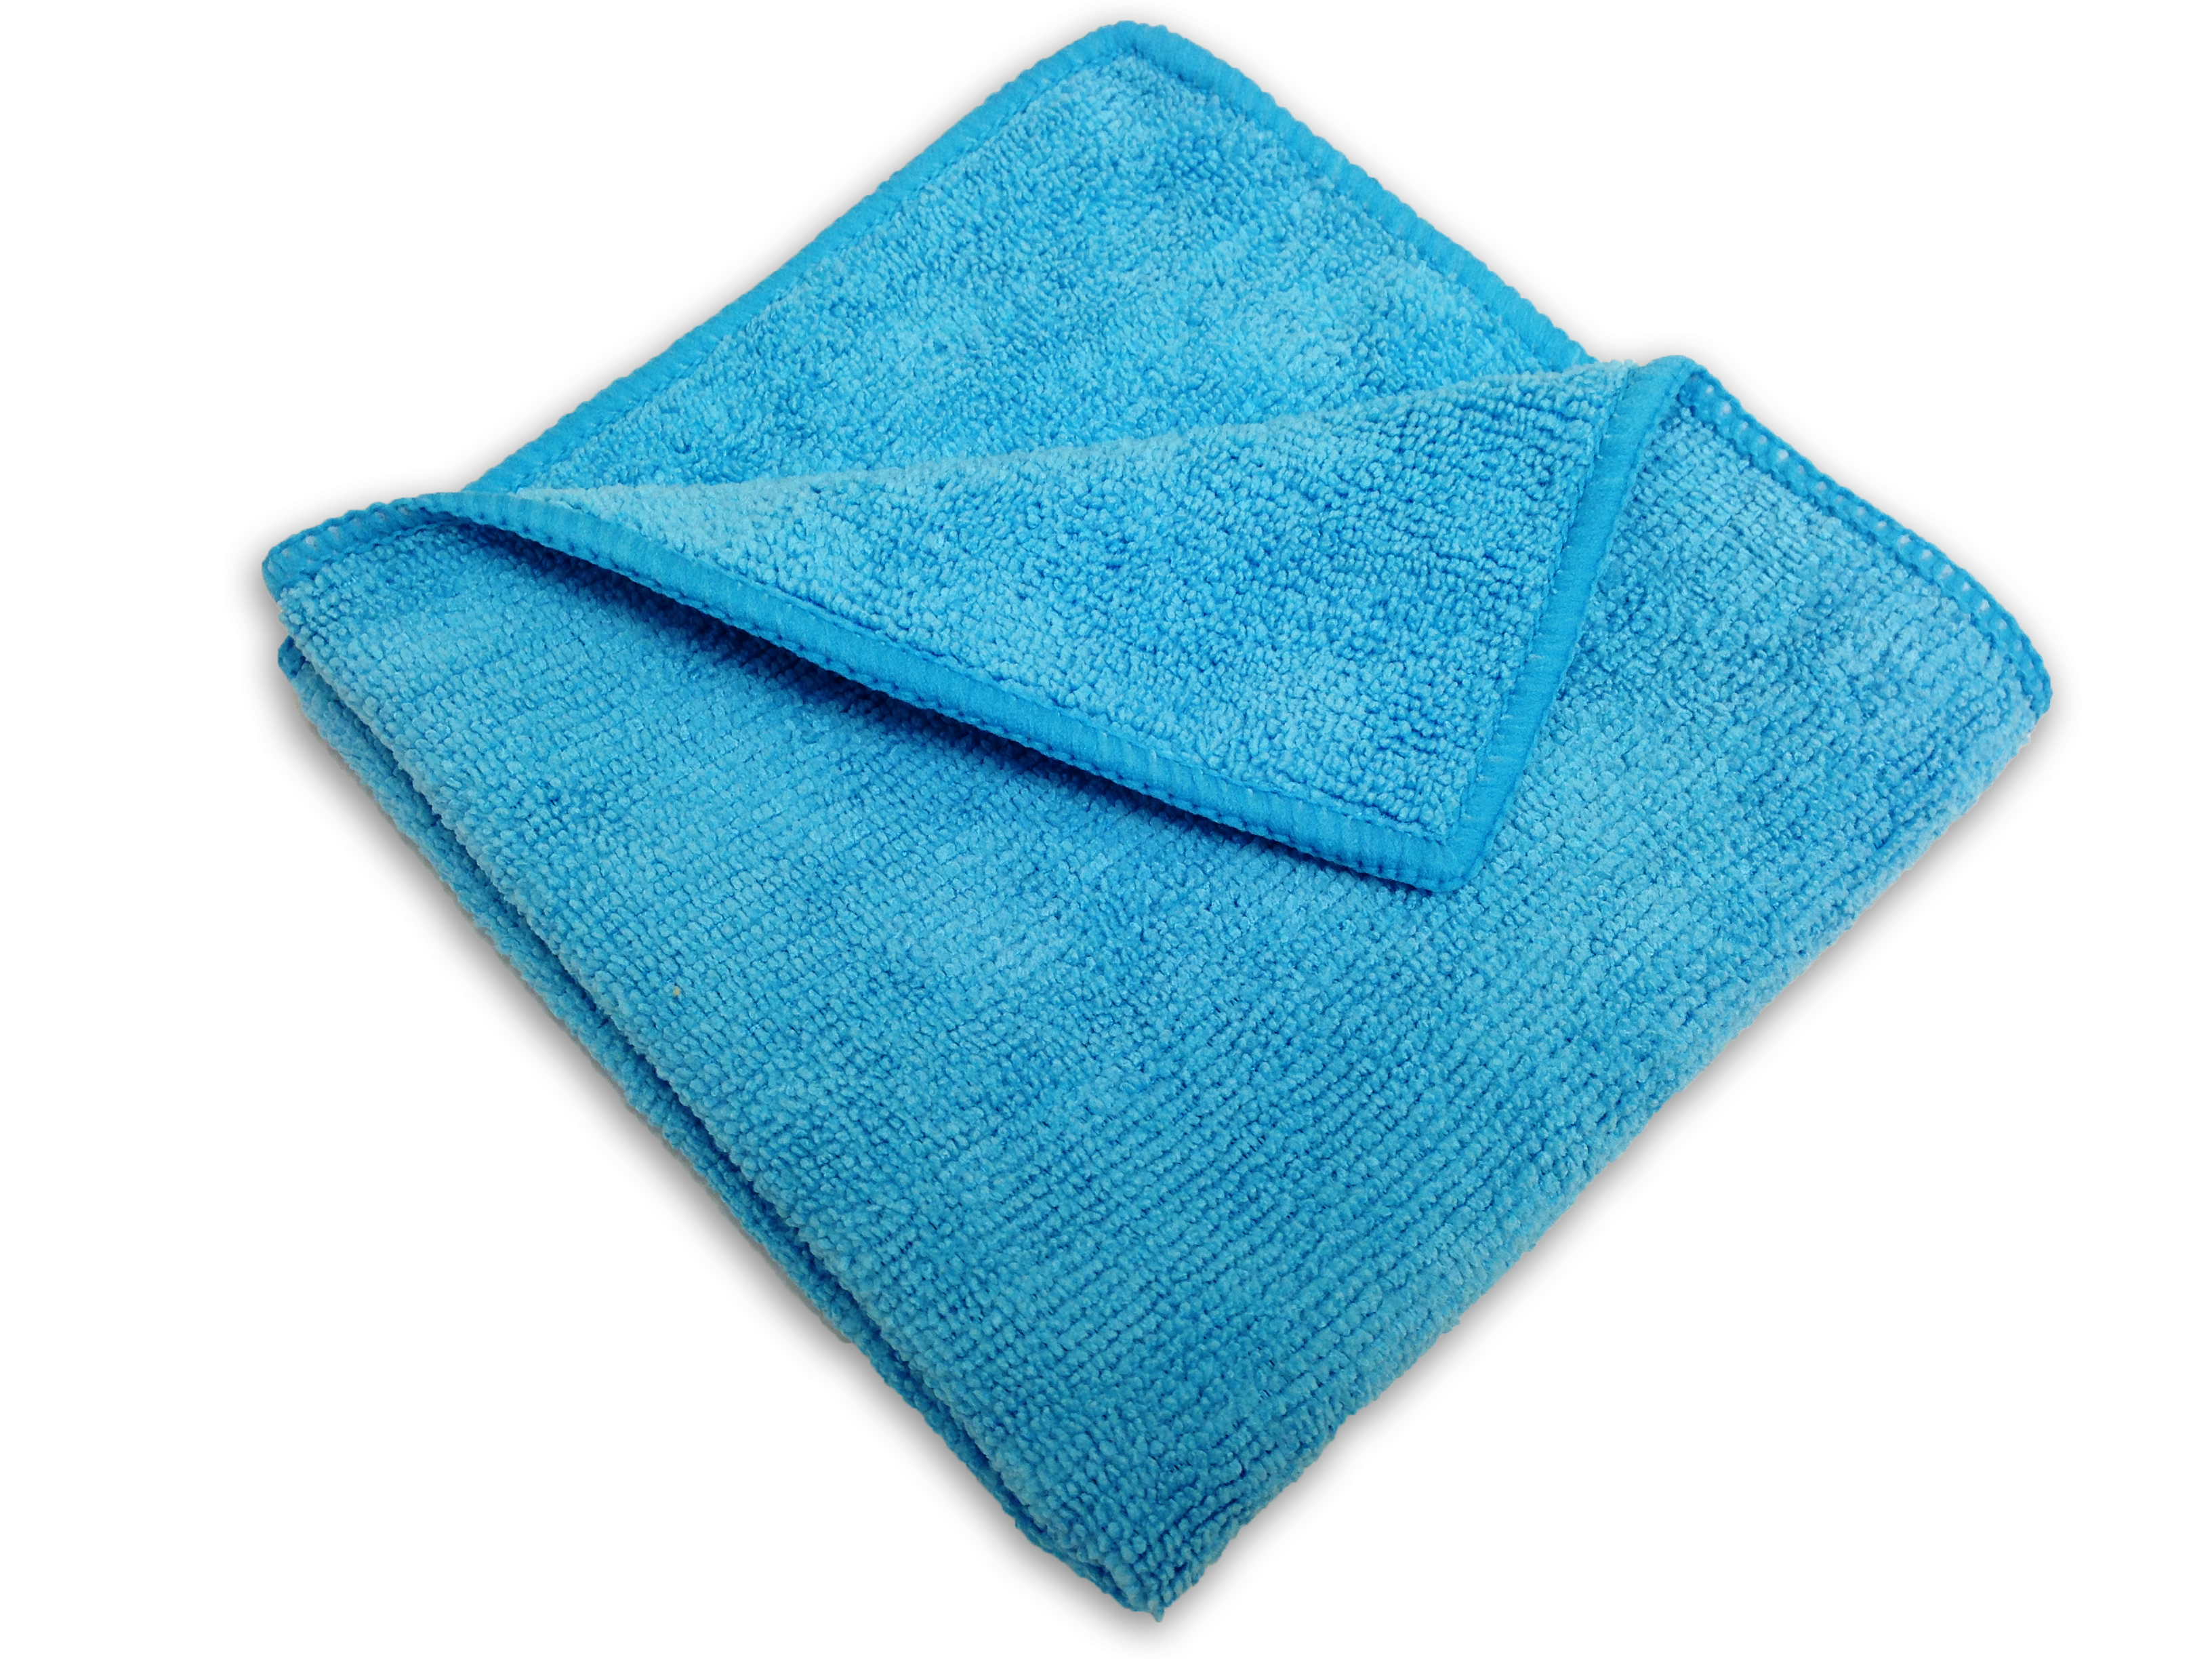
- A clean microfiber cloth
- A can of compressed air(make sure to shake 15 minutes before use)

- Cotton swabs(Q-tips)
Step 2: Cleaning the hard drive
The hard drive is located at the top left compartment as shown in the image below but, before you start to disassemble your device make sure to unplug it from its power source.

To begin cleaning the hard drive first need to remove the top cover by pressing down
and sliding it out towards you or away form you depending on which angle your are viewing your device from.

After you remove the cover, you will then use your Philip screwdriver to remove the screw in which you will then take out your hard drive and begin cleaning.

- (make sure that you keep the screws as you will need them to put your device back together)
Once you remove the hard drive begin spraying it along with the rest of the open compartment making sure to spray in small burst to prevent liquids from forming on your device. After cleaning the hard drive, put it back in its compartment making sure that it fits tight and then place its cover back on.

Step 2: Removing bottom case
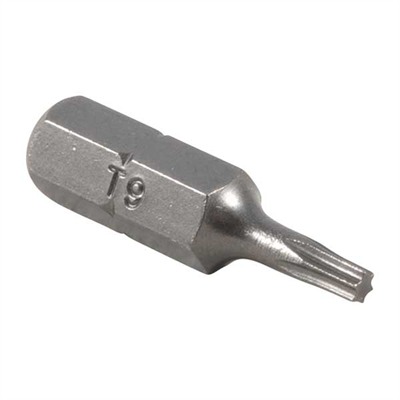
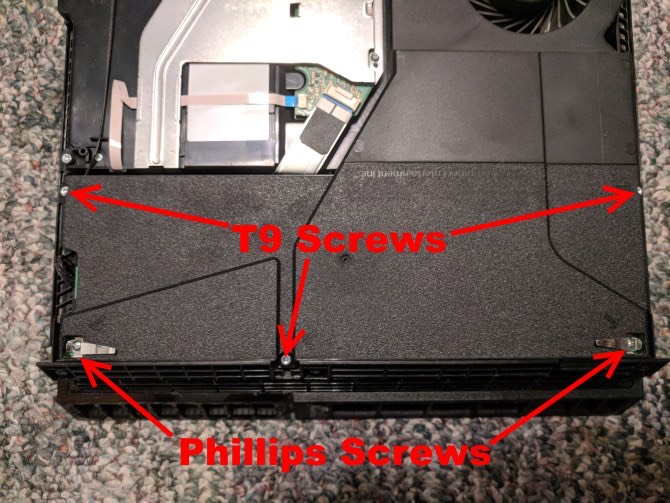
To remove the bottom cover you will need your t9 screwdriver to remove the four screws located on the back of your device(screws are underneath the stickers found on the back which serve as your warranty, so make sure that your warranty is over before you continue).

- (Again, make sure to hold onto the screws as you will need them to put your device back together)
After removing the screws you can now take the cover off making sure to wipe it down with the microfiber cloth while also reaching the nooks and crannies within the cover using the cotton swabs.

Step 3: Cleaning the power supply
To reach the power supply you will need to remove some additional screws using both screwdrivers on the locations shown in the image below.
After removing the lid, place it in a safe location as you will need to put it back on later. You will now be able to see the power supply located under the lid you just took off. Now remove it with precaution as it will still be connected by a wire on the left side(there is no need to remove the wire).

With the power supply out, you can now spray it with the compressed air making sure to spray through all the little slots, trying your best to do it thoroughly as the better you clean it then the cooler your device will be when running.

Step 4: Cleaning the fan
This step is the most crucial because of the fact that your devices temperature relies on how well it’s cooling system works therefore, cleaning your fan as best as you can will highly reduce over heating and loud fan noise if an issue. You will first need to clean the outer part of the fan as shown being sprayed in the image below.

After, you can spray the area located on left side of the fan as demonstrated in the image above, make sure to spray around all the edges of your device to clean as much built up dust as you can. Now that you have cleaned that, you will need to hold down on one of the fans blades(having the fan rotate the opposite way than it usually would can damage the fan, also make sure not apply much pressure so that you don’t end up breaking one of the blades) and begin cleaning each individual blade with a cotton swab to clear out as much dust as you can. Once you have use the cotton swab spray each individual blade to clean out any remaining dust remembering to do it in small burst to not create liquids within the fan.

Step 5: Put it back together and enjoy!
Now that all the cleaning is done the last step needed is to put everything back in its original compartment. You will first need to place the power supply back into its compartment and place its lid back on. With screws that you have held onto, use them to tighten the power supply back into place(power supply should be tight and not loose).

After you will place the cover back onto the bottom of the ps4, start closer to the power button first which it should then just slide back in. Then place the t9 screws into each hole and tighten, again cover should not be loose.

Now that you have put it back together the only thing left is to turn it on, grab some friends and to start playing!
Image Credits:


Comments
Post a Comment